
Step 1
After about 2 weeks, or when your nails start lifting, you are ready to remove your nails.
With the cuticle pusher included in your prep kit, gently go around your nail to lift slightly to allow the water and soap to go underneath the press on nail.
Step 2
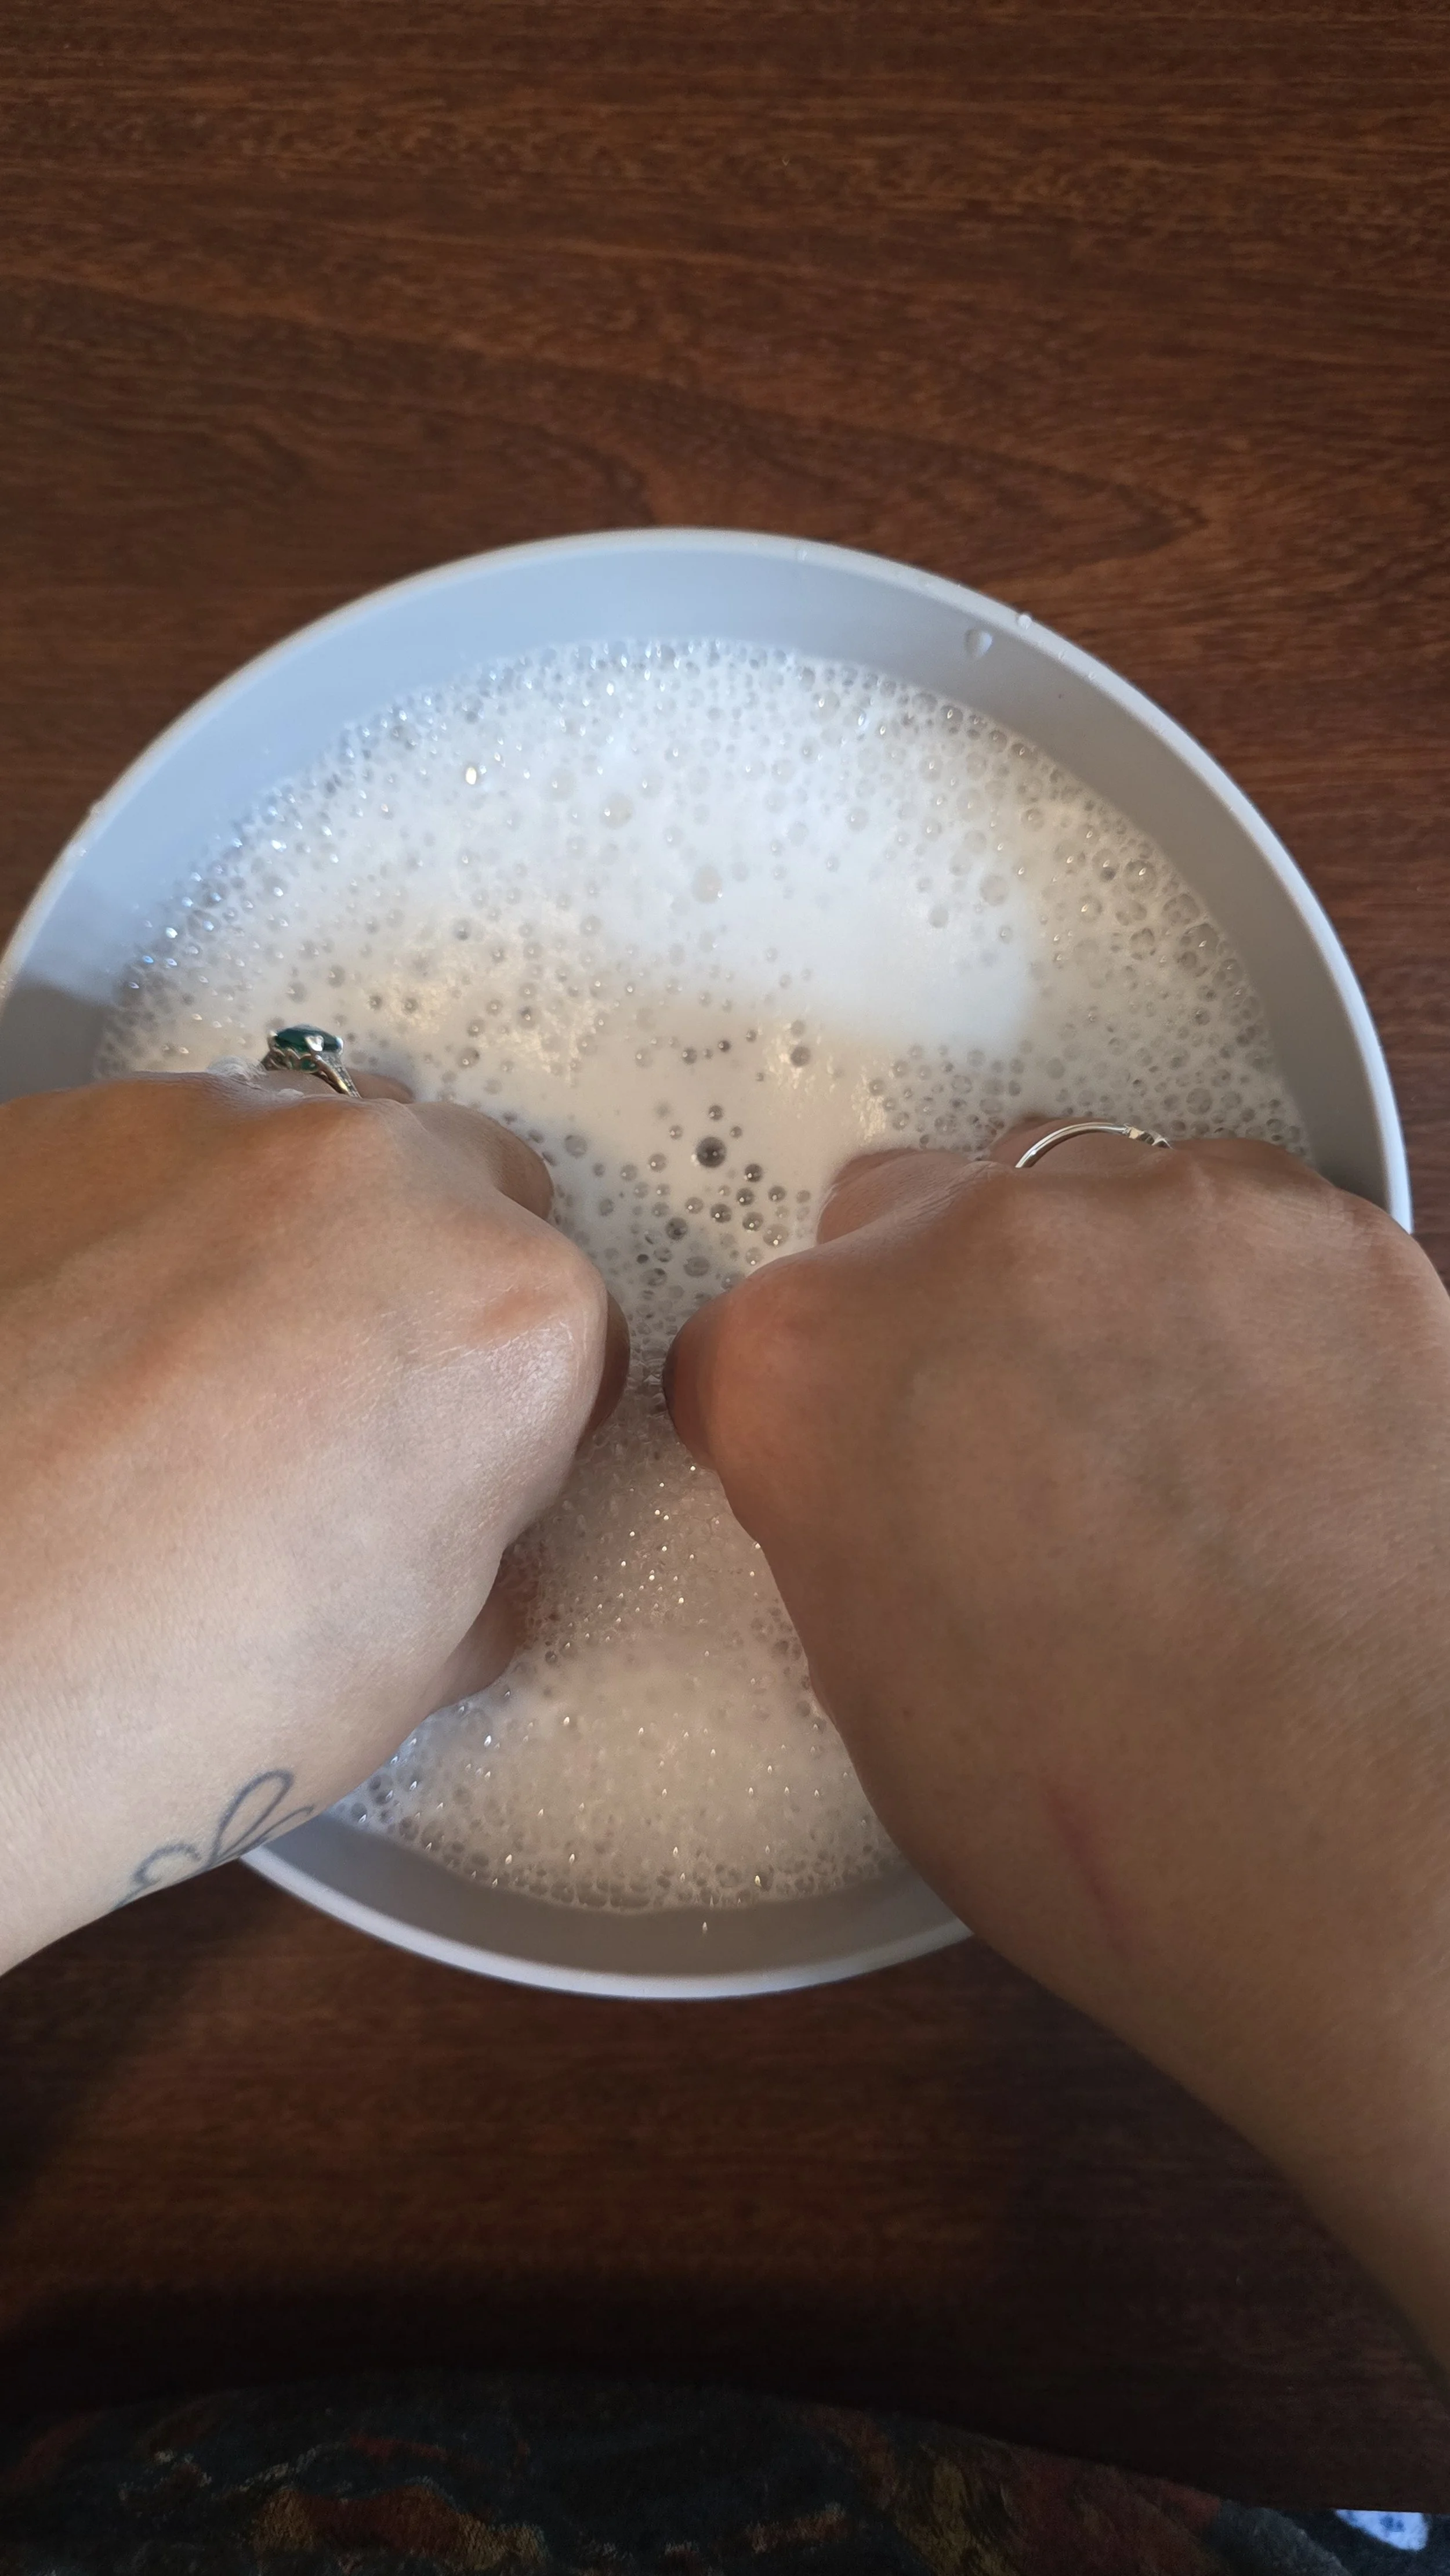
Take a bowl and fill it with warm/hot water and add any soap you’d like.
***Please note: Make sure that the temperature of the water is comfortable, while being warm/hot. You don’t want to burn yourself removing your nails. If the water becomes cold, you can replace the water and add more soap***
Optional: you can add your favorite cuticle oil, but it is ok if you don’t.

Step 3
Place your hands in the warm, soapy water and let them soak for 15 to 20 minutes.
Take this time to relax and think happy, positive thoughts.
Step 4
After 15-20 minutes, take your cuticle pusher and gently push the press on nail upward. It should pop off easily with very gentle pressure.
***VERY IMPORTANT: If the press on nail does not easily pop off, DO NOT FORCE IT! Dip your nails for a few more minutes in the warm soapy water and try again. (By forcing the nail off, you risk damage to your natural nail, we want the press on nails to enhance our nails, not damage them.)***
Step 5
Once you have removed all the press on nails, take the buffing block included in your prep kit and remove any glue residue from your natural nails. Use a gentle side to side motion until all the glue has been removed.
Step 6
Using your buffing square that is included in your prep kit, file away the glue on the back of the nail. Make sure you go in different directions and angles to get every part of that glue off.
Step 7
Use an alcohol pad and wipe the back of your press on nail to remove any dust. Use your display card to store your nails for next time.
Wipe your natural nail with the alcohol pad and apply cuticle oil, or lotion if you don’t have cuticle oil, and you are good to go! Your nails are ready for another set, or to go natural.