
Nail Prep & Wear Guide
Remember, have fun with it! If it doesn’t turn out perfectly the first time, that’s okay. Practice makes perfect, and since your sets are reusable, you can keep perfecting your technique every time you apply your gorgeous nails.
***Pro Tip: After you apply your nails, try not to touch water or apply lotion/oils to your nails for at least 2 hours. This helps the glue to settle and dry. I personally like to apply my nails before bed and allow the glue to settle overnight***
Step 1
Start with clean, bare nails. Make sure you have no polish on your natural nails.
Step 2
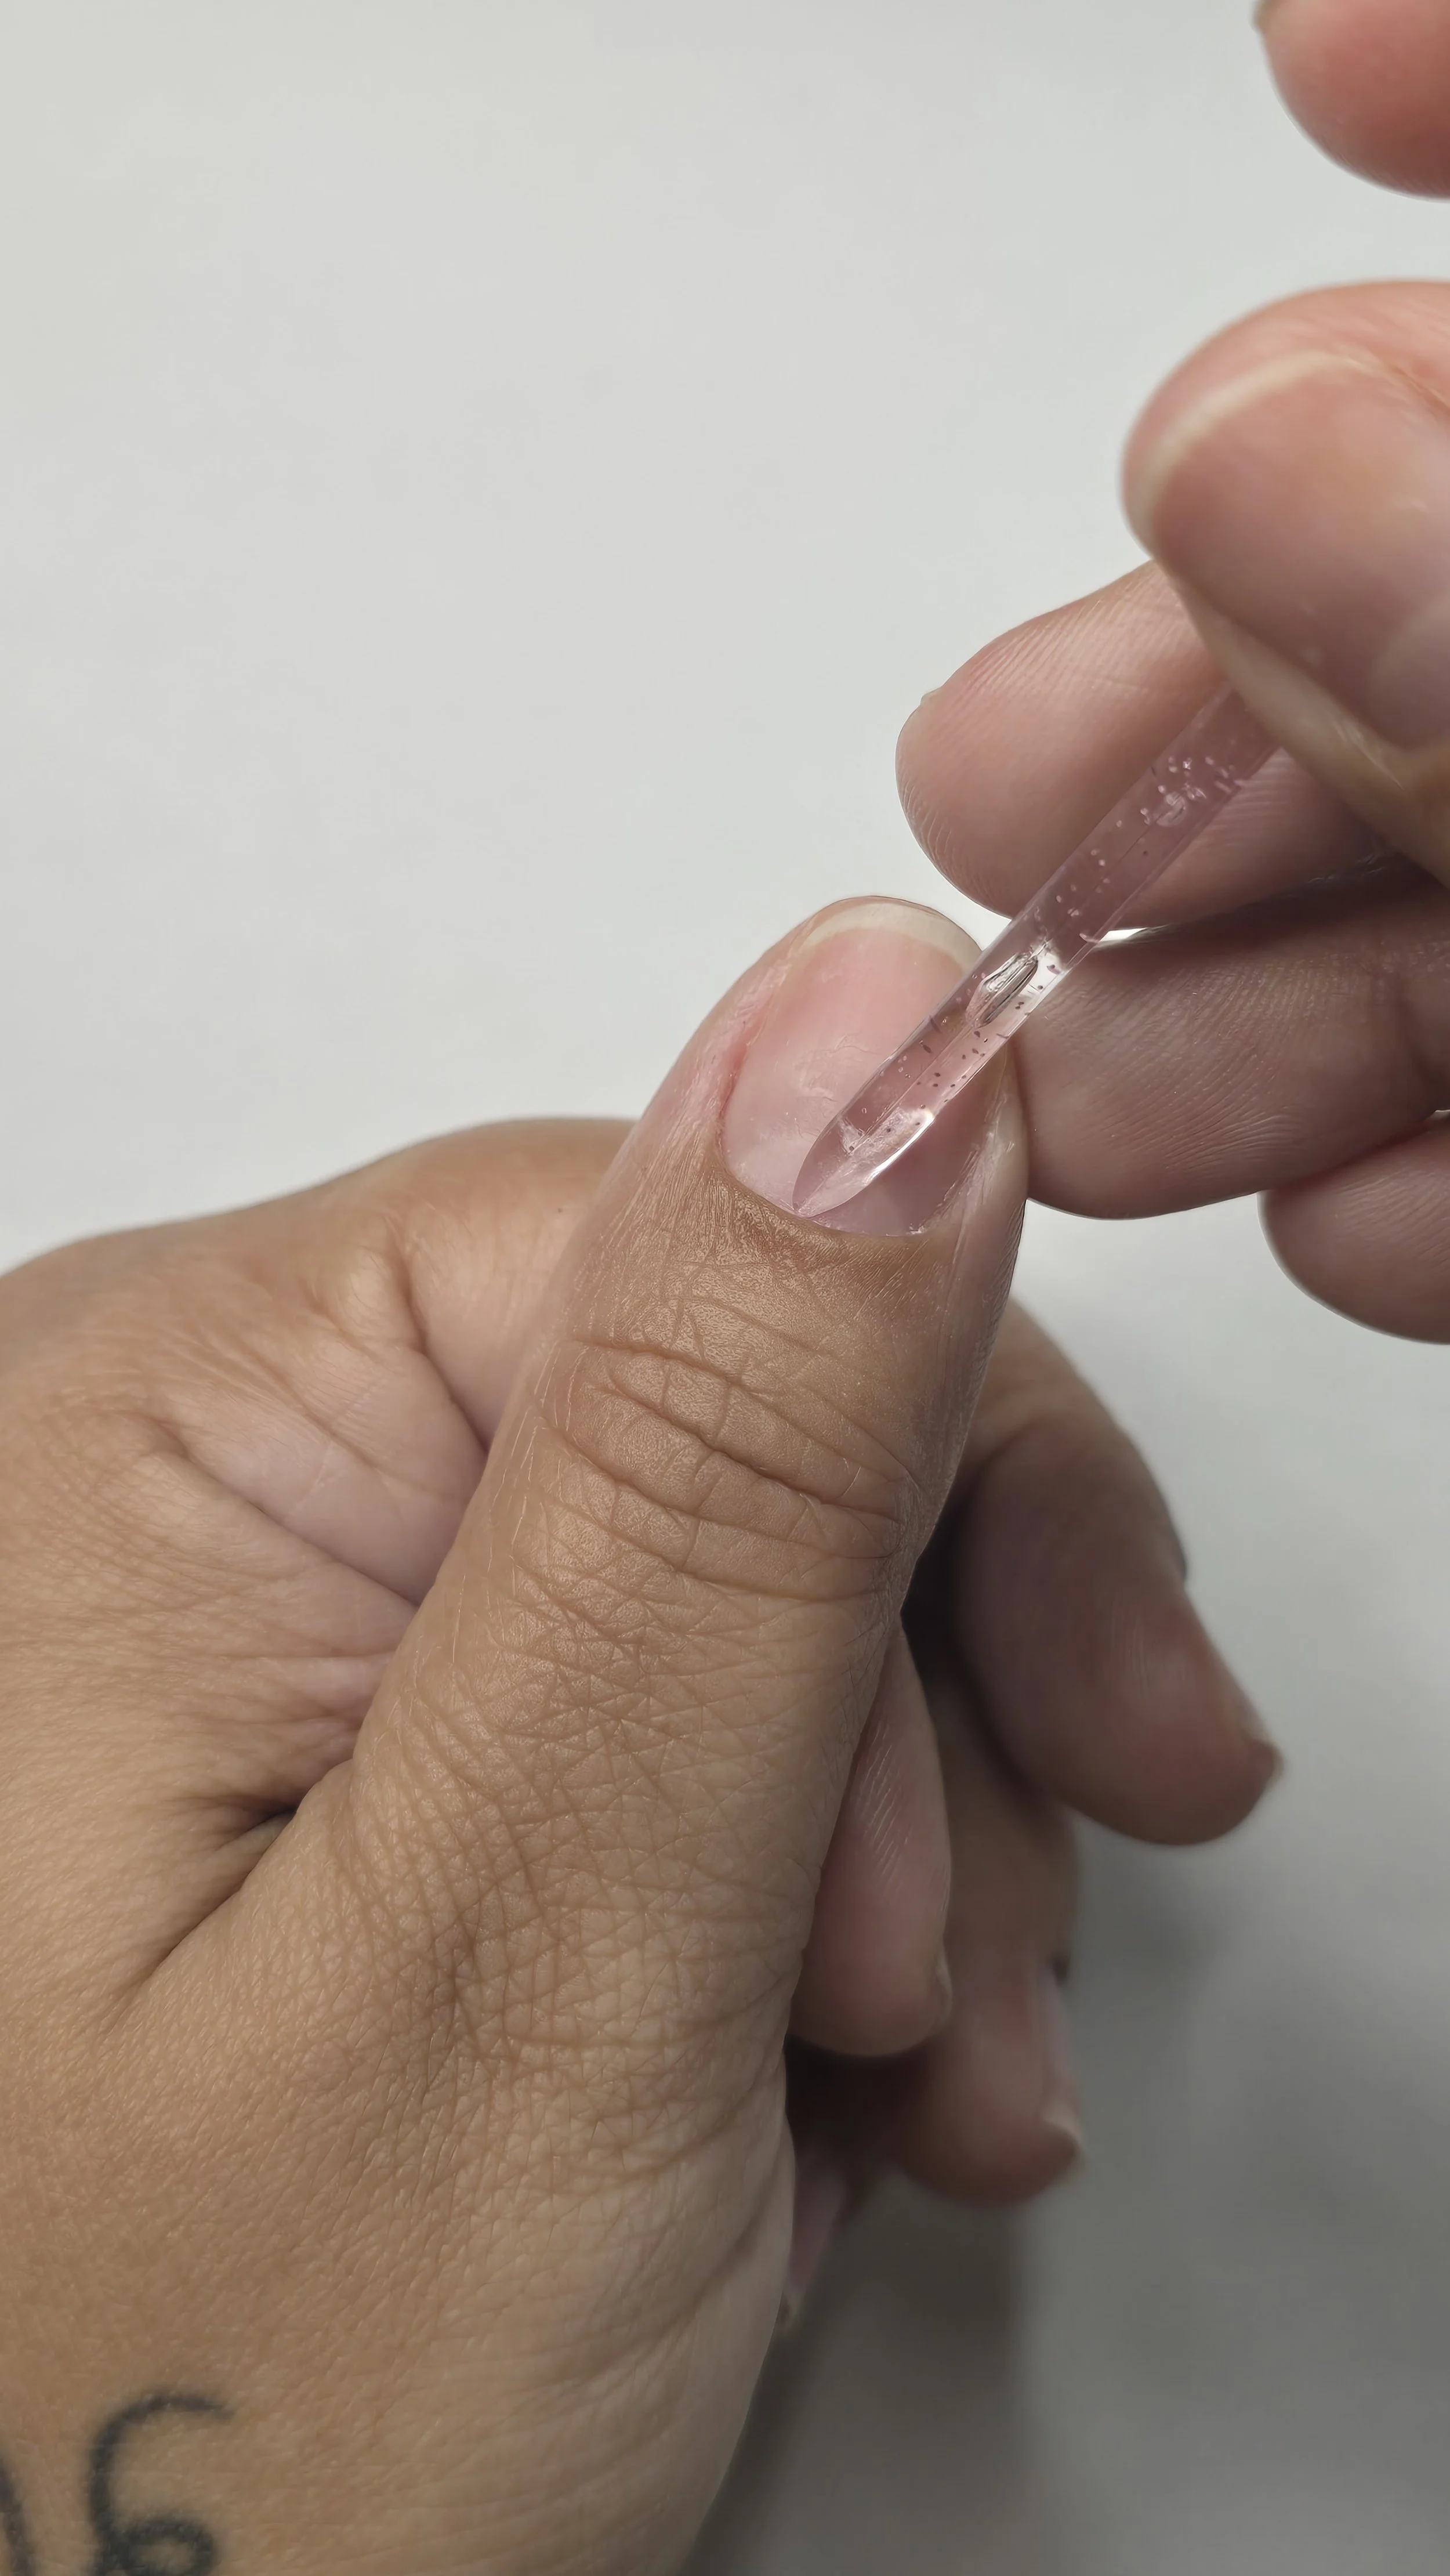
Gently push back your cuticles with the cuticle pusher included in your prep kit.
Step 3
Gently buff your nails (side to side motion) with the buffer included in your prep kit.
This makes sure you have a clean, slightly rough surface for the glue and press-on nail to stick to.
You don’t want to be rough, just lightly buff the nail. Not a lot of pressure is needed.
Step 4
File the free edge of your nail with the mini file included in your prep kit. If needed, file the sides of your natural nail so it doesn’t show under the press-on nails.

Step 5
Wipe your nail with the alcohol pad included in your prep kit. Make sure that you have no dust on your nail and the press-on has a nice, clean surface to adhere to.
Remove the shine from the back of the press-on nail by wiping it with the alcohol pad included. Removing the shine helps the nail to stick better and last longer (Don’t be surprised if your nails stay on more than 2 weeks).
Step 6
Place a little bit of glue on your natural nail (being careful with the cuticle and side walls) and spread evenly throughout your nail. If any glue comes out from under the nail, do not panic! Use a cotton swab to simply wipe away the extra glue.
You can also use a sticky tab if you want to wear your set for less time. Simply measure the sticky tab against your nail and choose the size that is closest to your side walls. Place the sticky tab on your natural nail and make sure you rub side to side so the sticky tab is making full contact with your natural nail.
Step 7
Apply your press on at a ***45 degree angle*** and gently press down for about 20 seconds. Applying at an angle allows the nail to spread the glue to the whole nail and removes any air bubbles.
You want to make sure that the glue under the nail spreads evenly to your free edge and you want to hold it down for a few seconds so that there are no air bubbles under your nail. You can also move your finger around applying pressure to different areas of the press-on nail to make sure you have full adhesion throughout.
Make sure you wait at least 2 hours before your hands touch any water or applying any lotions or oil to you nails.

Step 8
Enjoy your nails and show them off!
I would love to see you wearing your nails.
Tag me in your pictures:
IG/TikTok @landofyarinails